The Basics...Brows ~ Part 2
I hope that you all enjoyed Part 1 of my Brow Series. Let's move right onto Part 2. This will be a similar post, but I will be filling in the brows with a pencil.
I am again using Anastasia of Beverly Hill Products. If you are looking for great high quality brow products I would highly suggest them. She has a wide range of products from powders to pencils to wax kits.
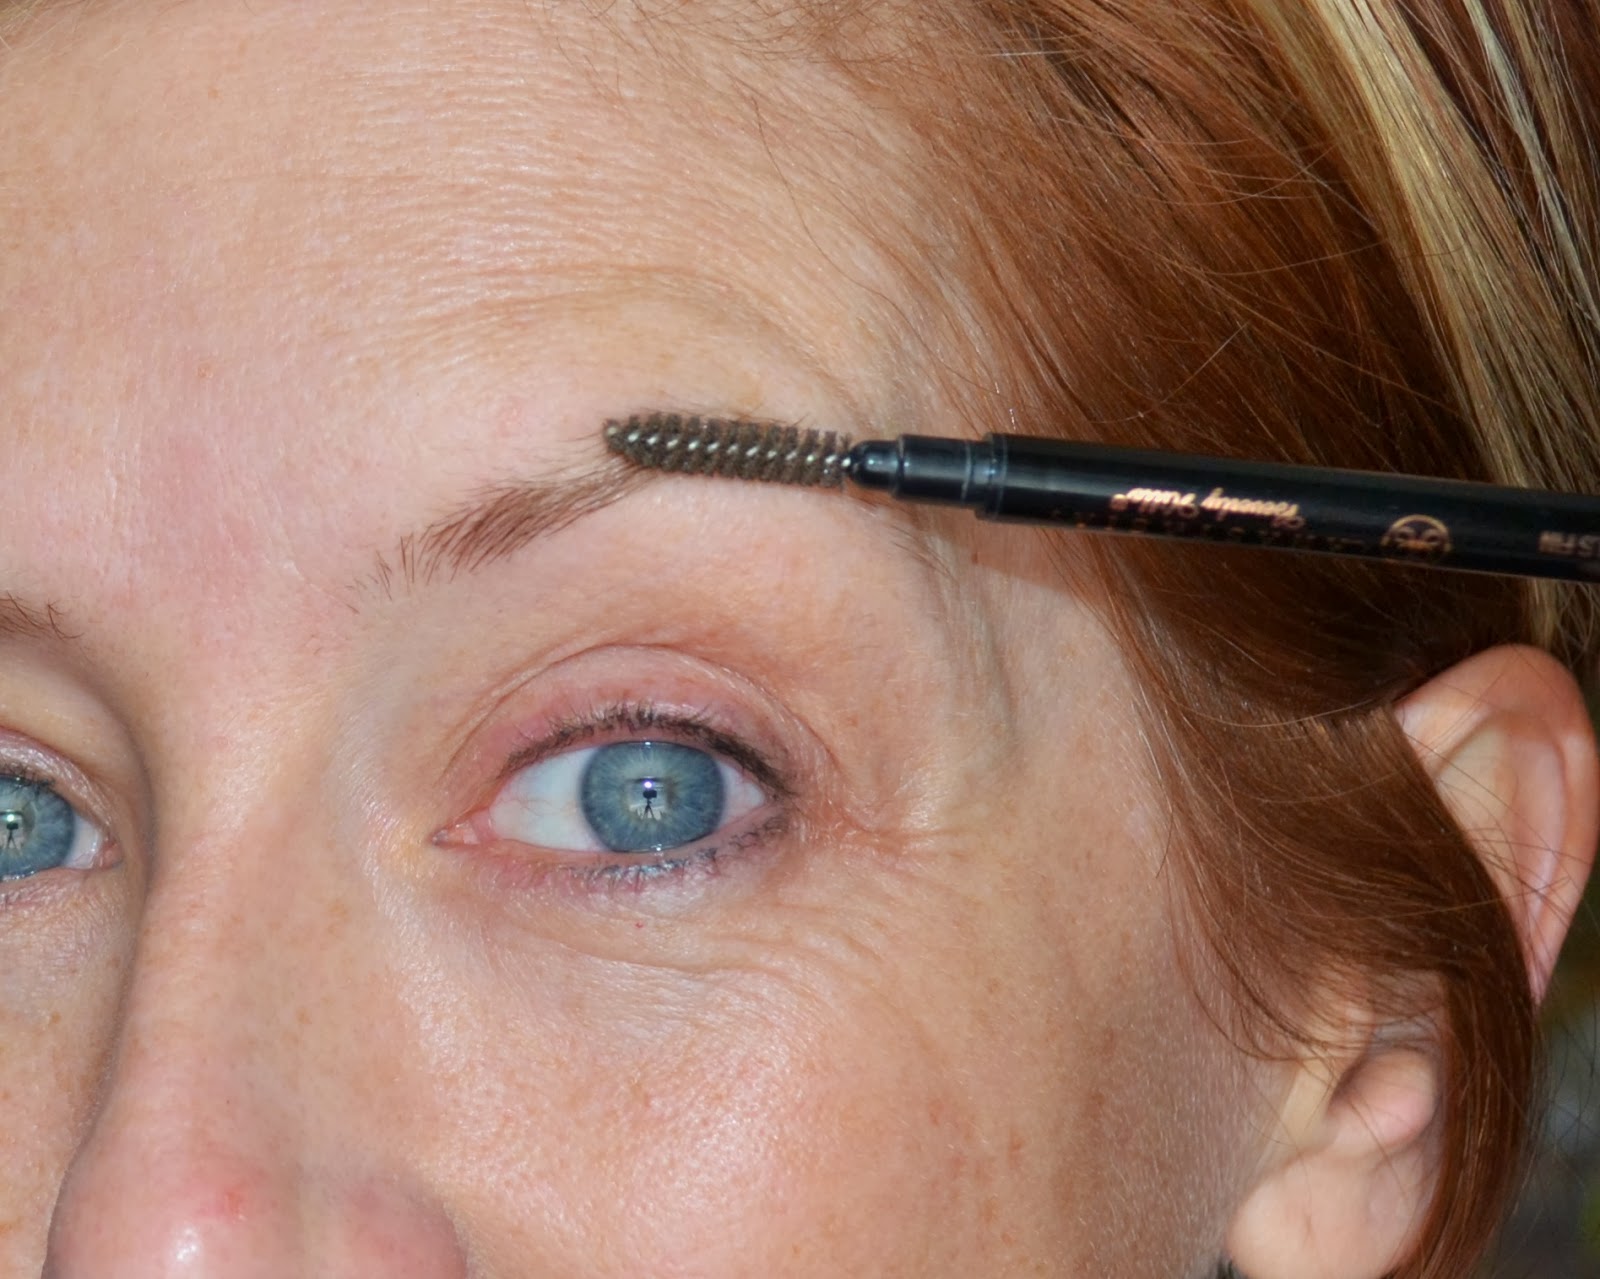
I am using the Brow Whiz pencils in Soft Brown and Ash Blonde. These pencils have a built in spoolie so my first step is to brush through the brows - this helps them to lay in the direction you want them go.
Next I take the pencil laying parallel to the brows and doing short strokes along the bottom of my brow. And again go along the top of the brow, just as I did with the brow powder. You should end up with something like this.
Typically I use a darker color mid-arch to the tail of my brow and a lighter shade along the front of the brow and when filling in...this just helps give you a more natural looking brow. I then gently run the spoolie through and apply a brow gel if needed.
I used the Milani Brow & Eye Highlighter again, but on this look I used the shimmer end and ran that along the edge of my lower brow and blended it down onto my entire eye. Acting almost as a base for my shadow.
So there it is...brows done! As I said earlier you can use whatever feels more comfortable for you. Brow Powder or pencil. There is no right or wrong. I hope this was helpful and stay tuned for more pictorials like this in the future. Here is a look with the finished brow...


Comments
Post a Comment