How to create a bruise...
Halloween is a wondrous time of year. I love it. Almost more than Christmas so I thought it would be a great time to show some of my readers how to do some cool, simple special special effects.
Today's pictorial will be how to create a bruise. This is a type of bruise that is pretty deep but starting to heal - so it will have the gross yellow/bruise tone to it.
I am using a Mehron Bruise Wheel, you can get it here for only $16.95. This is a creme based palette so you will need to set it at the end with a translucent powder. I also have a couple of plain cosmetics sponges, the kind you can get at any store (I picked bits & pieces off of the end to give it a more mottled feel.) Lastly I have a couple of stippling brushes. The white one is from a set from Real Techniques and the other is a brush from ELF (I purchased mine at Target.) These brushes are synthetic which is perfect to use while working with cream products. And they have a duo fiber finish to them so they will give you almost a splotchy look when you dab them onto the skin.
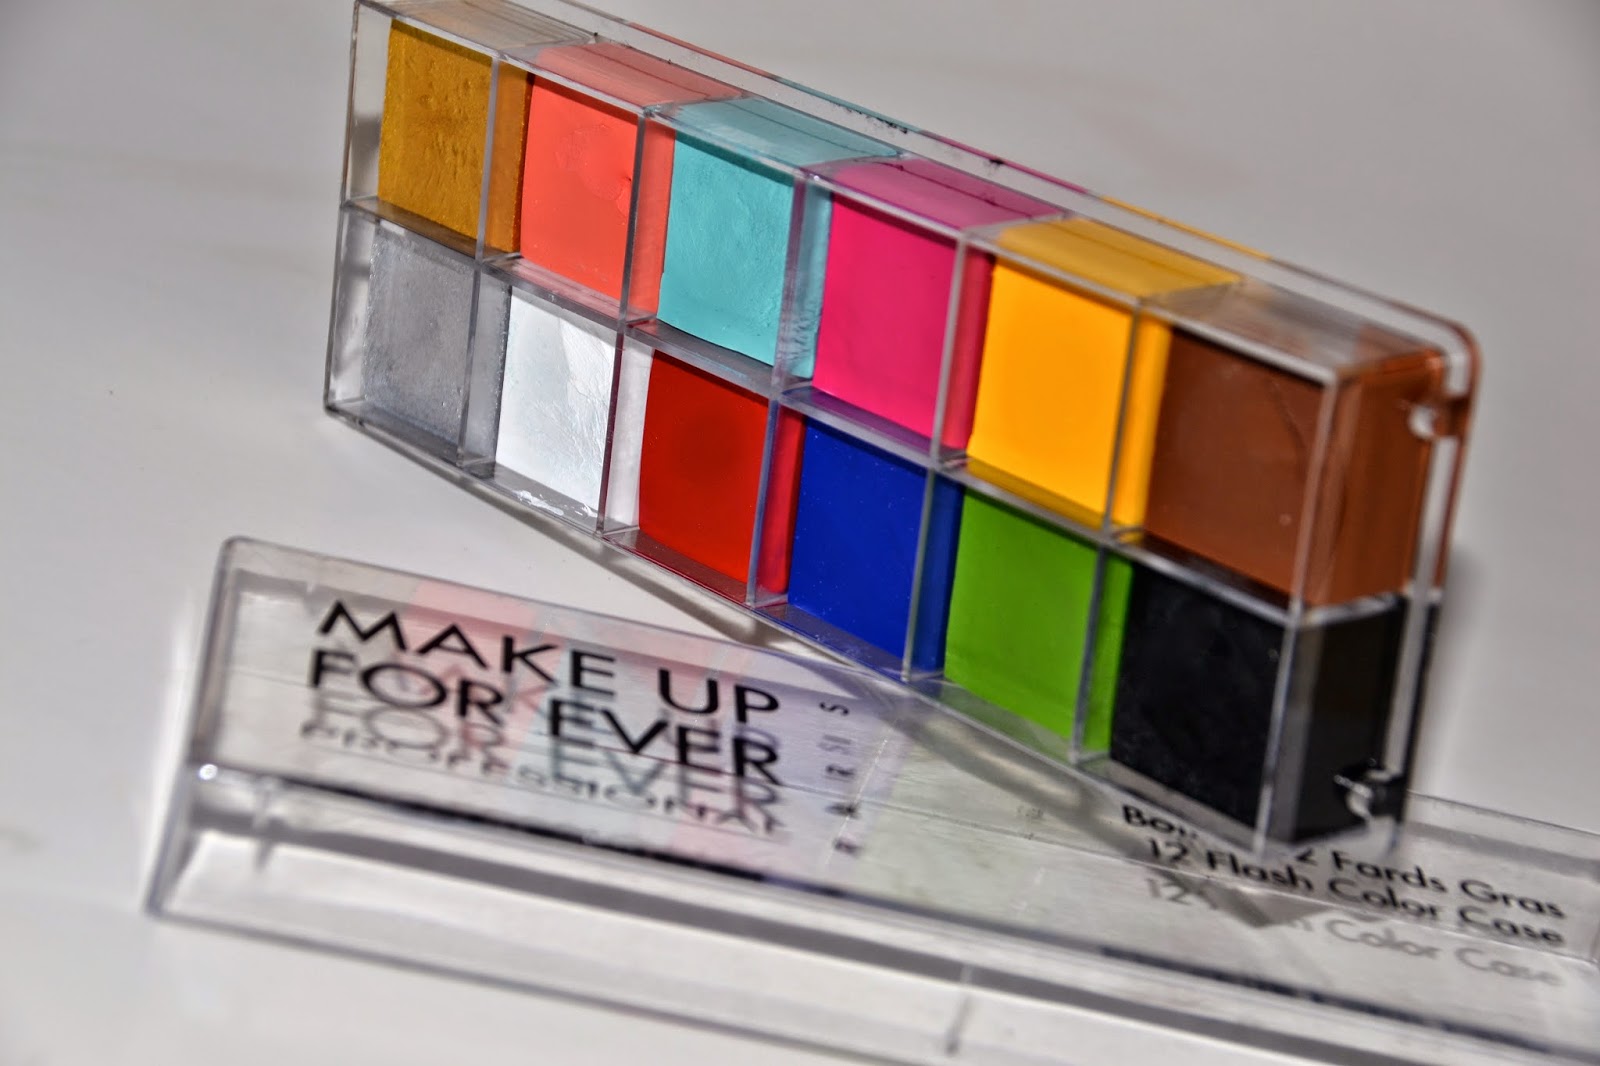
 If you didn't want to purchase these brushes you could also get a similar effect using these type of stippling sponges, such as these...You can usually find them at any Halloween Store or you could even purchase them on Amazon.


Today's pictorial will be how to create a bruise. This is a type of bruise that is pretty deep but starting to heal - so it will have the gross yellow/bruise tone to it.
I am using a Mehron Bruise Wheel, you can get it here for only $16.95. This is a creme based palette so you will need to set it at the end with a translucent powder. I also have a couple of plain cosmetics sponges, the kind you can get at any store (I picked bits & pieces off of the end to give it a more mottled feel.) Lastly I have a couple of stippling brushes. The white one is from a set from Real Techniques and the other is a brush from ELF (I purchased mine at Target.) These brushes are synthetic which is perfect to use while working with cream products. And they have a duo fiber finish to them so they will give you almost a splotchy look when you dab them onto the skin.
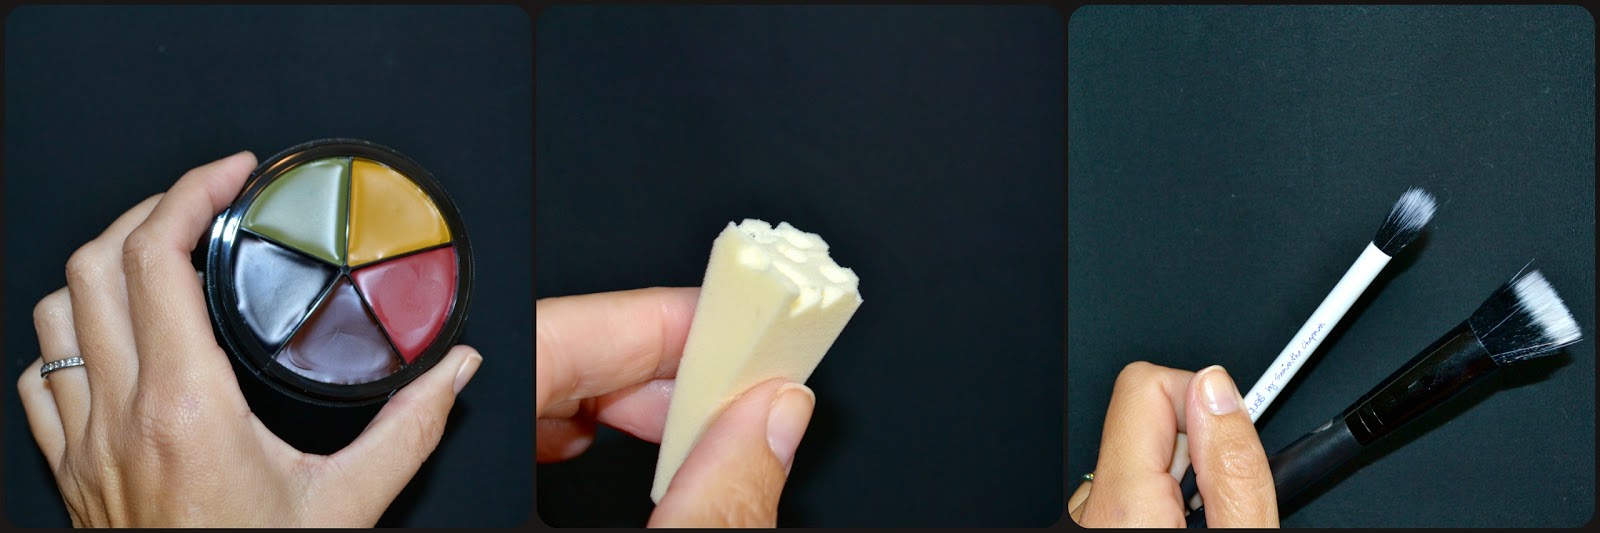 |
| L to R: Mehron Bruise Wheel, Cosmetic Sponge, Real Techniques & ELF Brushes |
If you didn't want to purchase these brushes you could also get a similar effect using these type of stippling sponges, such as these...You can usually find them at any Halloween Store or you could even purchase them on Amazon.
Let's get started!!
Step 1. - Take the larger stippling brush and dab it into the mustard yellow and then do the same technique onto your skin.
Step 2. - Take the fat end of the sponge and dab into the green and go around the edges of the yellow creating whatever shape you want. Remember bruises are not usually perfectly round so get creative. You should end up with something like this....
Step 3. - Take the small stippling brush and dab into the red and apply that in between your yellow and green, don't blend with the brush just leave it looking like red dots.
Step 4. - Take the skinny end of your sponge and dab that into the brown and at this point blend along the red.
Step 5. - Take your ELF stippling brush and dab that into the black to deepen the red area - do this sparingly because you don't want to blend out the red too much.
Step 6. - Go back to your sponge and use a little more yellow and green to blend out any harsh edges.
You should end up with something like this....
Set everything with a translucent powder and YOU ARE DONE!
This is a simple way to amp up any costume...and you could do it on any part of your body. This is a great base to lead up to a more gory type of bruise...if you want to you could get some latex and make puncture wounds and add some fake blood. The possibilities are endless!
I hope that was a helpful tutorial and I would love to hear if you like this sort of post OR if you have any requests for more Halloween looks! Happy Halloween my beauties!!!

Comments
Post a Comment